[email protected]

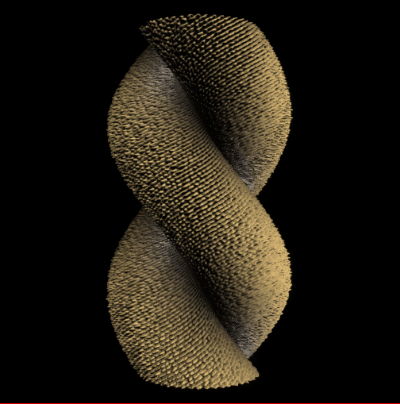
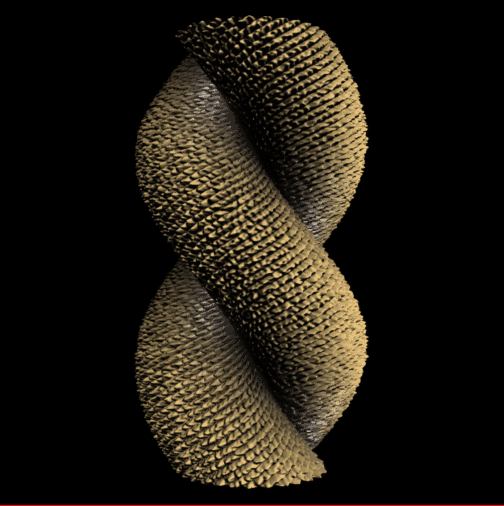
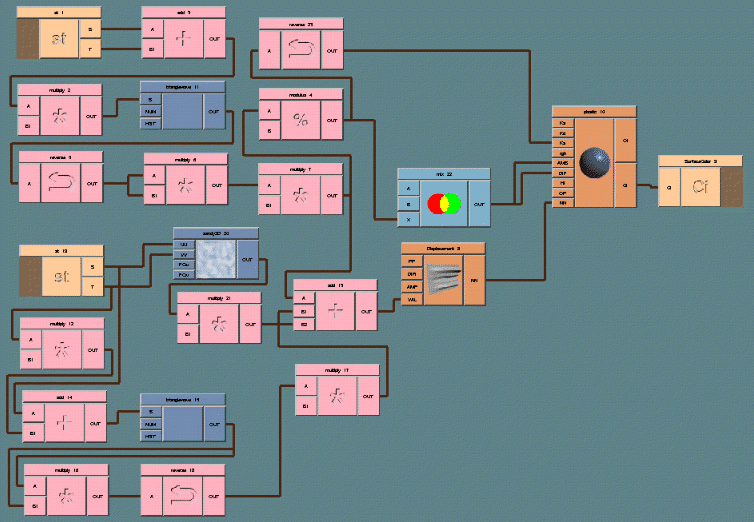
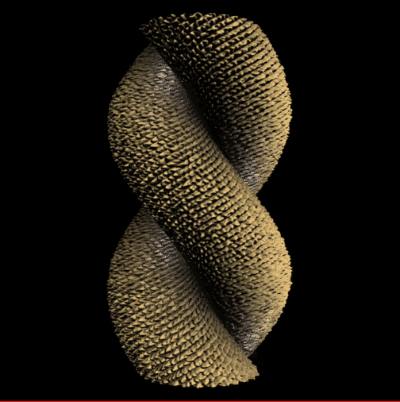
In this example, I was really trying to get a certain 'rope' look, using little tricks here and there to get what I want. This is why the desktop is a little 'busy', but still, considering the amount of tweaking I'm doing in there, the desk layout is pretty clear and well defined.. easier to understand than if I'd written it in a text editor.

Simply put, starting with a cylinder, a low frequency (4 cycles) trianglewave is squared to create a curve that spirals down along T, to generate the displacement for the two main strands of rope.

Another squared trianglewave of a much higher frequency (48 cycles) runs perpendicular to the strands, to create the small fiber displacements, which are combined with the strand displacements with a simple add box.

To add a little fuzziness to the fibers, a sandy2d box is used to displace the fibers to give the rope a rough look. That is also combined using the add described above.

The add composites the three displacement patterns together, and sends it to the displacement box, where it is applied to the cylinder.

To create the surface color, the operations that generate the strand frequency are applied to a mix box, to vary the color between the tanish rope color, and black, so that the strands get dark towards the inside, as if dirt and oil had accumulated in the crevice. Additionally, the specular hilight is increased at the center, to further the effect of 'oil' buildup in the crevices.

Here's the desktop for the above image:

The following controls come up by default to change the strand frequency, fiber frequency, and fiber roughness, as the slider comments indicate:

Shown below is the same rope shader, with the fiber frequency increased from 48 to 80, resulting in a 'higher grade' rope that has finer fibers:
Rope Shader

'FIBER FREQ' set at default 48.

'FIBER FREQ' increased to 80.

Copyright (c) 1996 Cinema Graphics Inc. All Rights reserved.