When the renderer is rendering an object, the object's surface is divided into triangles. This is called tesselation. Each of the three vertices becomes a point on the surface. Since a triangle defines a single plane, this gives the renderer the normal for that area of the surface. If you increase the parametric approximation, more triangles are generated for each patch in the surface and the closer the rendered surface fits the geometrically defined surface. The material shader tells the renderer the color for each triangle.
The only operation required in any shader is a 'Result' box:

This is the color output to the renderer. This single box can actually be a 'material shader' all by itself; selecting the color value will return a constant color for the entire object, regardless of the scene's lighting.
But it's a little more useful if you take the scene lighting into account. To do this, it's recommended you use one of the pre-defined 'material shader' boxes, such as 'plastic':
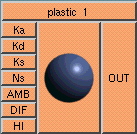
Description of the plastic box.
N.B. There may be only one 'material shader' (orange) box on the desk at any one time for the shader to compile correctly.
To really have fun, you'll want to change the color procedurally, in other words, control it with a combination of patterns and/or math functions.

Patterns usually return floating point values which can be used to vary the color and/or the intensity of the ambient, diffuse, and specular colors.
This is an example of a simple plastic shader:
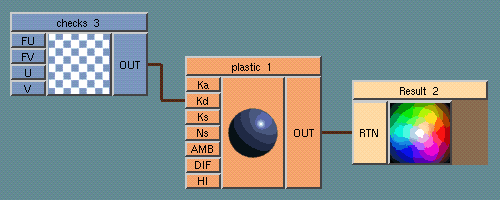
The rendered image looks like:
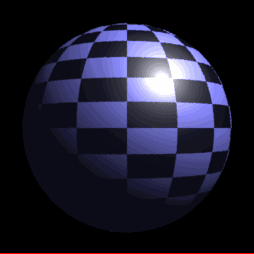
The dark squares are the diffuse intensity at 0, the colored squares are where the diffuse intensity is at 1.
To better demonstrate the interaction of the ambient color and specular highlights with the diffuse color, here is the same example with the ambient color set to red, and the ambient intensity increased to 0.3:
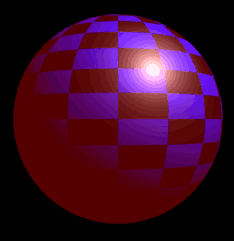
Since the color of a shader is the sum of the ambient, diffuse and specular components, the ambient color shows through and the specular highlight is dimmed where the diffuse component goes to 0.
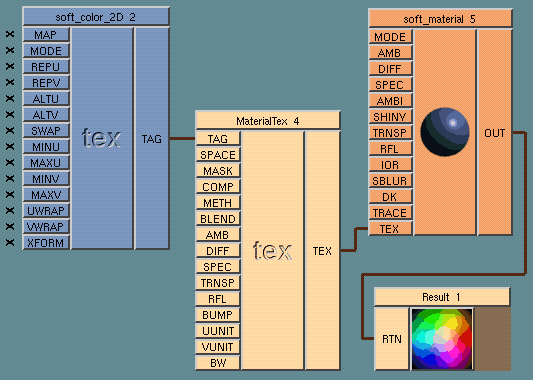
The soft_material box may be used with both procedual boxes and a texture map to define texturing and patterning for any aspect of the material. The soft_color_2D box is used to give the location of the picture file to use as the map. The MaterialTex box is used to control how the map is applied as well as which aspect of the material the map will affect and how great its effect will be.
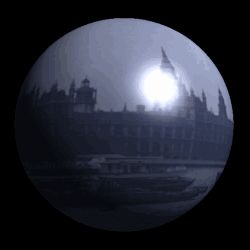
Below is an example of attaching a texture map to a soft_material shader. These four boxes need to be used in conjuction with one another, but procedual boxes may be added as well to affect other aspects of the material. This is the SoftImage implimentation of a Mental Ray 'material shader':
